This weekend, we finished our shower! This was a really exciting point for us, as it is the first thing in the tiny house which is fully completed. This also means it will be a lot easier for us to stay at the site for longer, and possibly get some work done during the week as well.
The first thing we did was to frame the ceiling with some small blocks of wood, which I stained. The blocks turned out to be very difficult to nail into place as they are small and the wood we are using is quite hard and splintery. Tom had a hard time (and there were a few swear words), but we eventually got them fixed into place. I then coated the entire top of the shower with a decent layer of polyurethane.


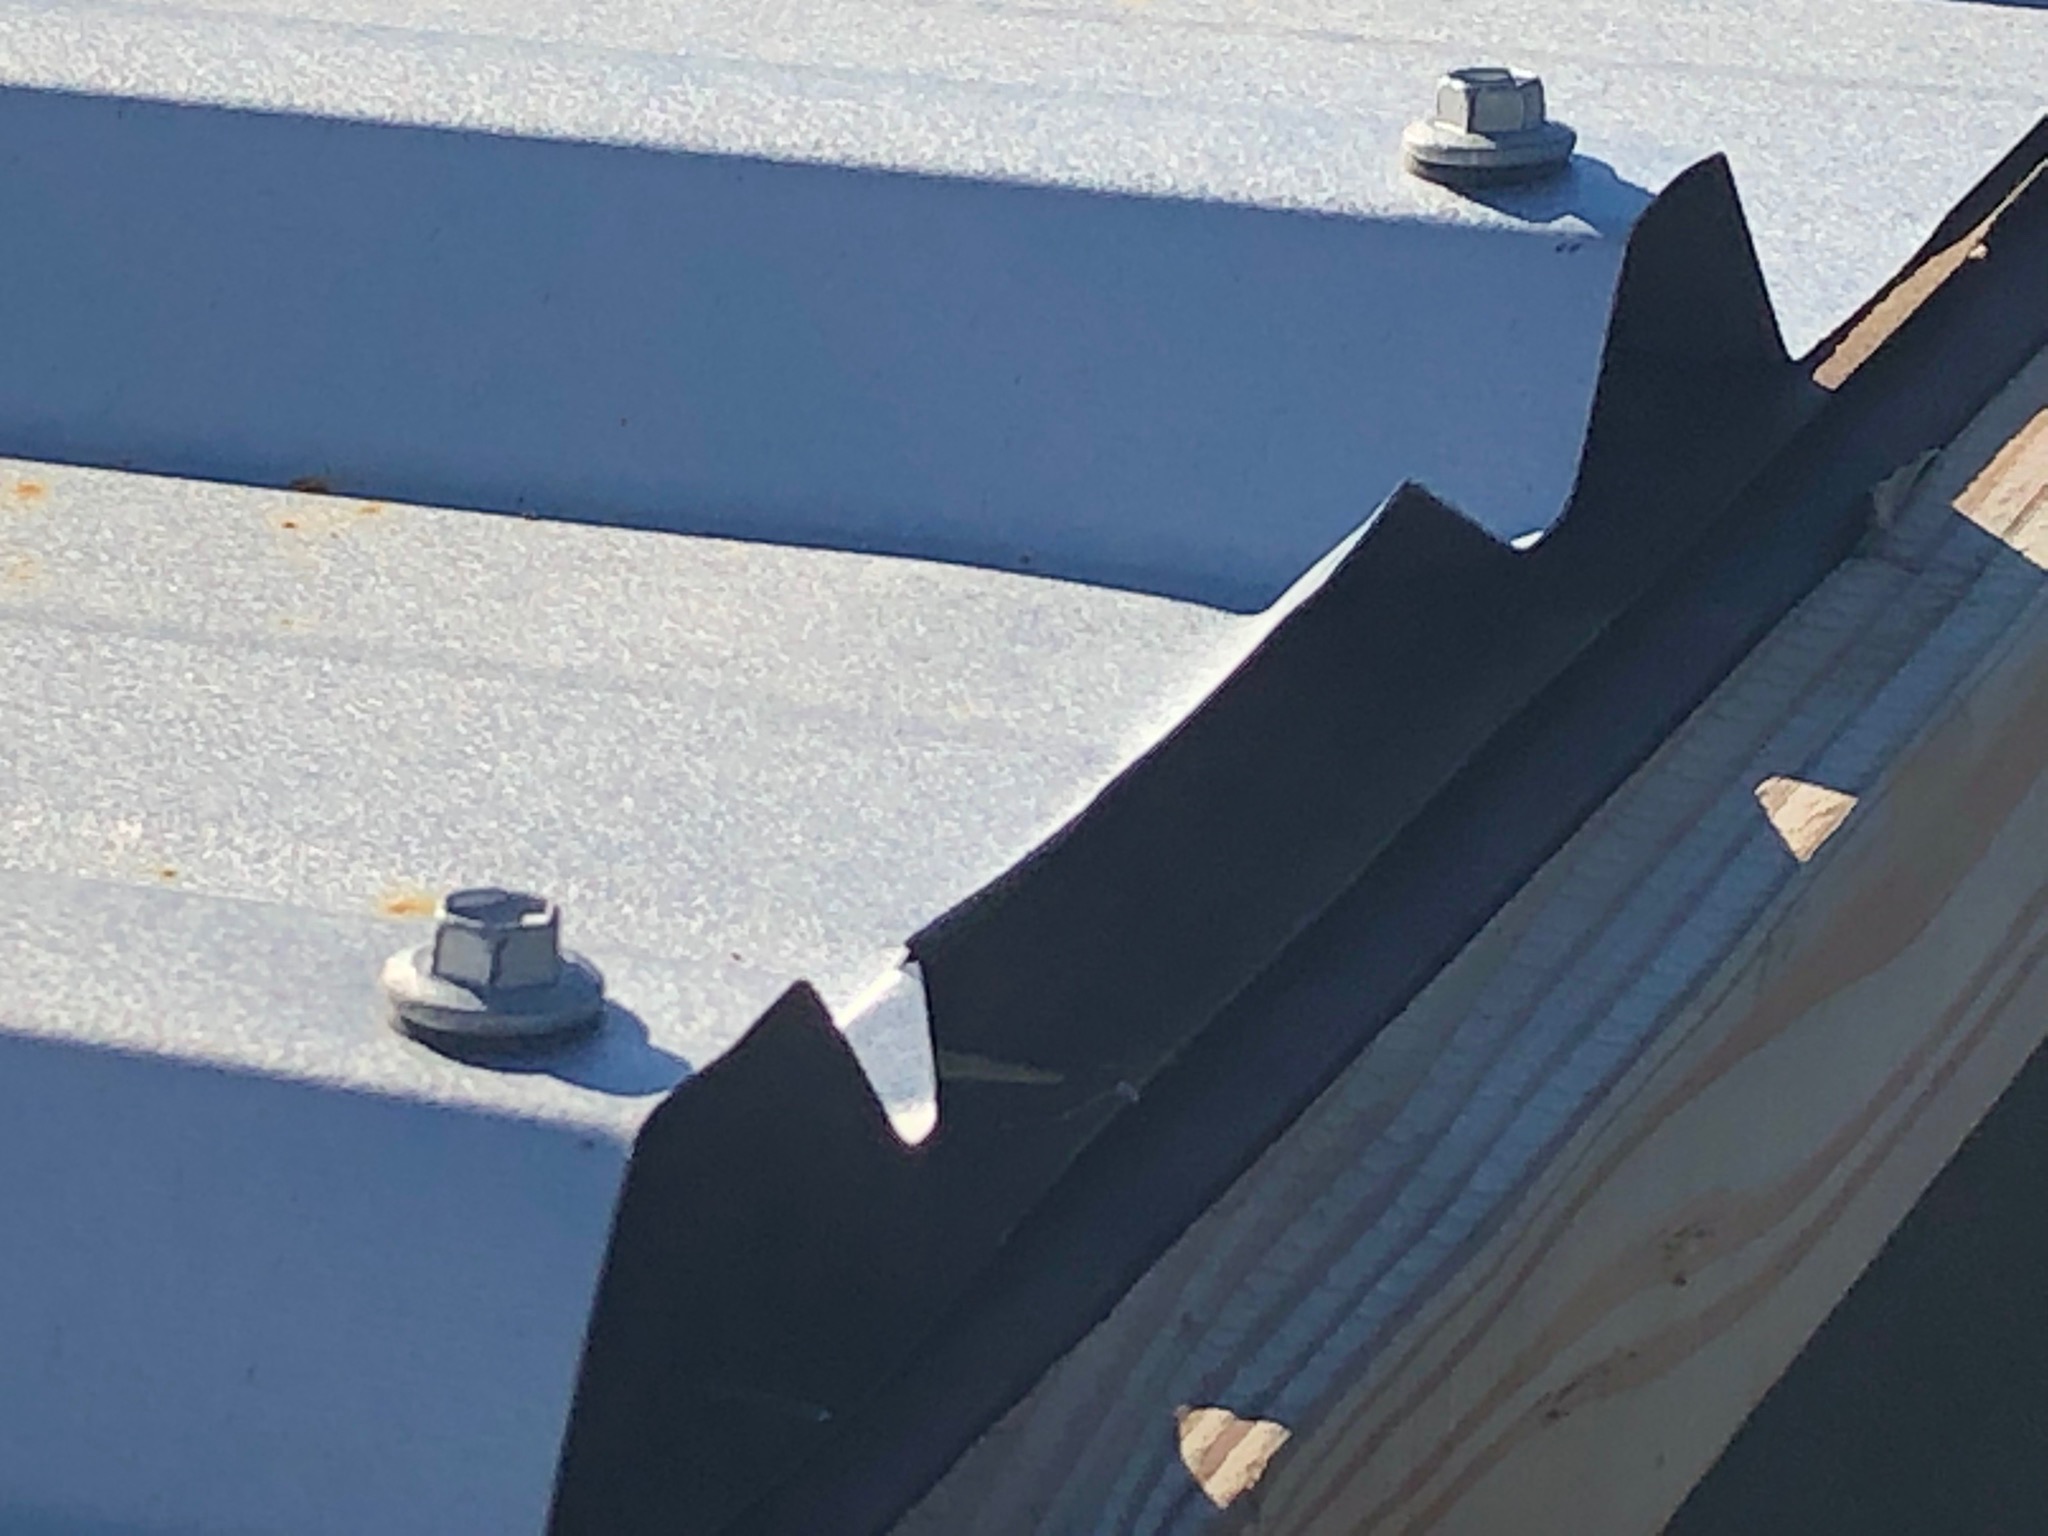
After the polyurethane was dry, it was time to start cutting the iron to size and screwing it into place. We went down to see Phil and Karyn first, as they had done a similar shower earlier in the year. Theirs looked great, and was still going strong, which is encouraging for us! Phil said he simply bent the iron around the corners, and it was thin enough to go into place. This turned out to be true to a certain extent, but rather tricky, and involved quite a bit of wrestling with the iron. The end result was a bit more of a curved corner than a perfectly folded one, but we were both happy with the finished product.


Tom then continued screwing the iron fully into place, before he set about connecting the water pump and gas califont. While he did this, I began to stain the beams in the kitchen. The wood used for the beams got weathered over the winter, so I wanted to brighten it up a bit again. I considered painting it the same colour as the kitchen, but Tom was really keen on having the “exposed beam” look. I managed to find a stain (another deck stain again), which made no difference to the colour of the wood which was undamaged, but brightened up the weathered wood subtly. After two more hours of hard work, we had some stained beams, and a working shower! We were both very grateful to be able to use the shower that night – it worked well and the pressure was amazing!


The next day, we started working on the wine barrel sink. I was unable to find a good tutorial online for this (I may upload one myself at a later date – watch this space!). Luckily, Tom had a good idea of how to cut out the barrel without it all falling apart. However, we decided to use a practice barrel first (when we purchased them, they came in a set of two), just in case we screwed anything up. First, we marked out the door. Then, we marked out the middle of each piece of wood in the section of the barrel we were cutting the door out of. Next, we drilled some holes, and put screws into each spot we had marked. This was to attach the wood to the iron rings (and therefore keep the barrel intact when we cut it up).


Next, Tom cut through the iron in the sections we wanted to cut the door out of. Unfortunately, it was a very hot day when we did this, and we had moved inside to stay out of the sun. It was a nerve-wracking moment for me when Tom did the angle-grinding of the iron rings inside the house (pointing into the kitchen). Luckily, there were no casualties.

Next, he used the drill to make a pilot hole, before cutting the wood out with the jigsaw. The door came out and didn’t fall apart – the barrel looked great! Tom did an amazing job at cutting nice and straight with the jigsaw, and I’m really excited to continue working on the project. Unfortunately, our “practice barrel” was inhabited by a baby bird’s nest for a few weeks, so it was a bit smelly and filled with hay when we opened it. I’m hoping that after a good clean out and a sand down, I will be able to make two successful barrel-cabinets.


We then repeated the door-making process with the actual barrel which will be in the bathroom, when we were sure it was going to work. Next time, we will have to make a hole for the sink in the top of the barrel, and fit some drainage. Then, I will have to figure out how I want to build the shelves to go inside the barrel. I do have a plan for some extra storage in the bathroom too, but it would be nice to get as much space out of the barrel sink for storage as possible.
We ended up going away really happy with our weekend’s work, and excited to continue moving on with the project. During the course of the weekend, we also planned out how we will run the rest of the plumbing, and made a list of supplies we will need for this. It is really good to have these “big step” things ticked off, and feel organized for the next part of the build. I was getting a bit worried about not having the house finished before we have to leave our flat, but, at the rate we are currently going, I feel much more at ease about getting the place finished now!